
How To Set Up Yoast WordPress SEO Plugin Correctly

This is the guide to configure Yoast SEO WordPress Plugin 3.1 and Upper. Whenever we talk about best SEO Plugins for WordPress and All In One SEO, WordPress SEO by Yoast emerges as a prominent name.
Many of you who are using the All In One SEO plugin should know about the much-advanced version of the plugin, which is available in WordPress with the name “WordPress SEO by Yoast“.
This plugin has integrated many known features of other plugins by Joost de Valk, for example, Meta robots plugin, RSS Footer plugin, and many others. Since this plugin offers many features, setting up Yoast WordPress SEO plugin is not that easy.
For this reason, I am sharing this tutorial, which will help you to transition from All In One SEO to Yoast SEO plugin, and configure this plugin for optimal performance.
WordPress SEO by Yoast is the powerhouse for WordPress search engine optimization. However, setting up this plugin might be tricky for some, and a new blogger or anyone without basic SEO skills, might find it difficult to configure.
An incorrect configuration can stop search engine bots from indexing your blog, or you might let bots crawl a part that might not be important.
Before we go ahead with our setup guide, let’s look into some of the SEO features offered by this plugin:
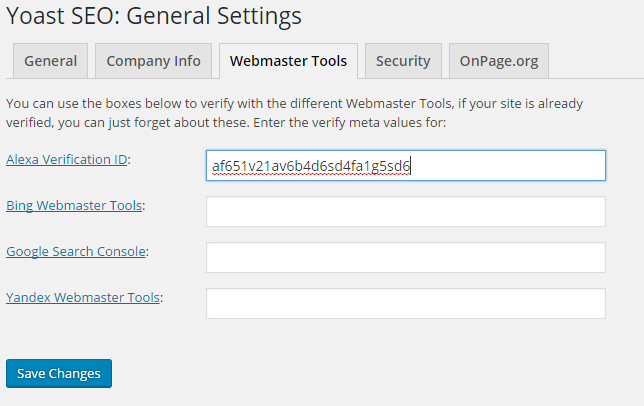
- Verify sites in Google, Bing, and Alexa
- Title meta settings
- Hide RSD, WLW, Shortlinks from head
- Meta-control for Taxonomies, author page
- Supports Facebook Open Graph
- Generate sitemap
- Advance permalink control
- Breadcrumbs support
- RSS feed footer plugin settings
- Import settings from other SEO plugins.
- Edit .htaccess files
- Hide date from Search engine snippets
- Add Google authorship for single author
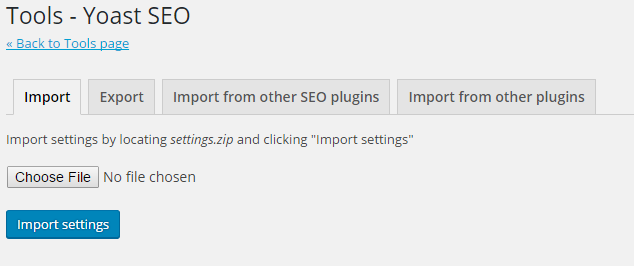
Once you have installed and activated WordPress SEO by Yoast, go to SEO > Tools> Import & export under the left panel, and select the plugin from which you would like to import your settings.
I suggest making a backup of your database, and then using the option that to “Delete the old data after import? (recommended)”.
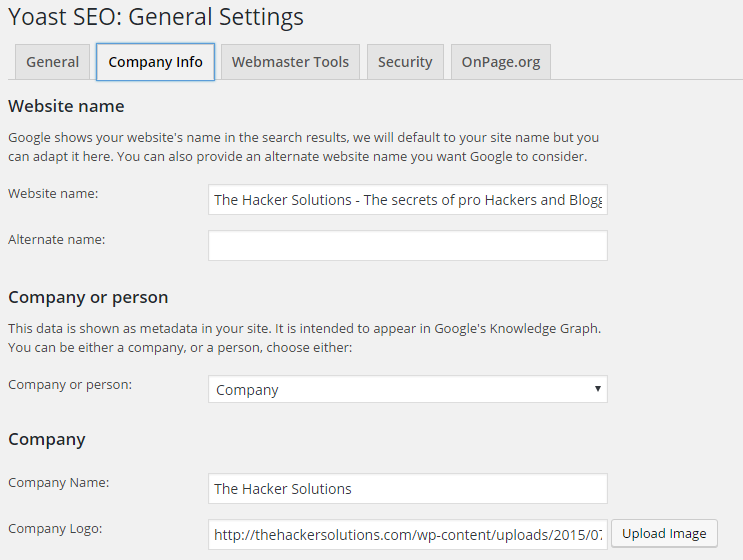
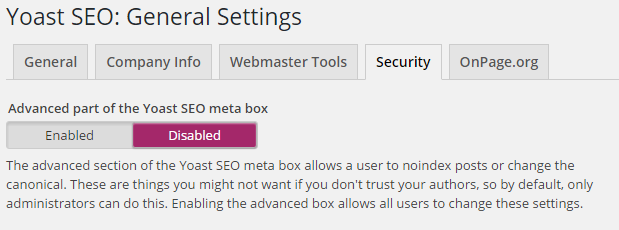
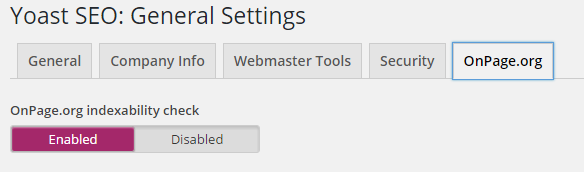
Go to Yoast SEO "General Settings" Section
1. General Tab:- Leave this Section.2. Company Info Tab:- Fill According to your Website.
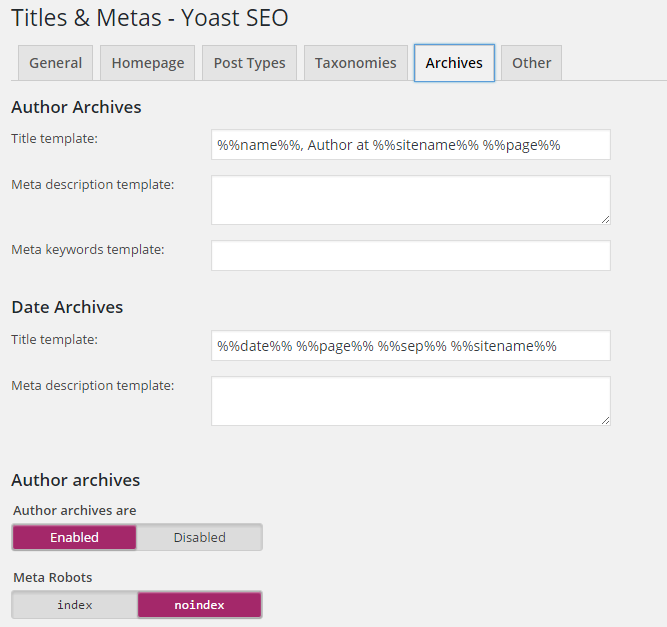
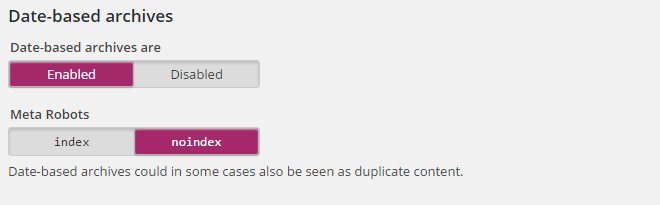
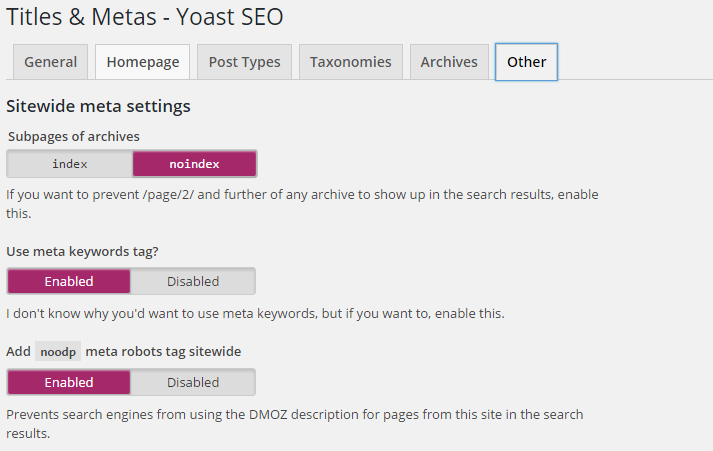
Go to Yoast SEO "Titles & Metas" Section
1. General Tab:- You can choose anything here but I rcommended "-" to use for Title Separator.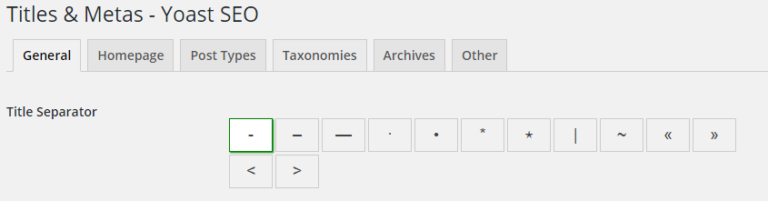
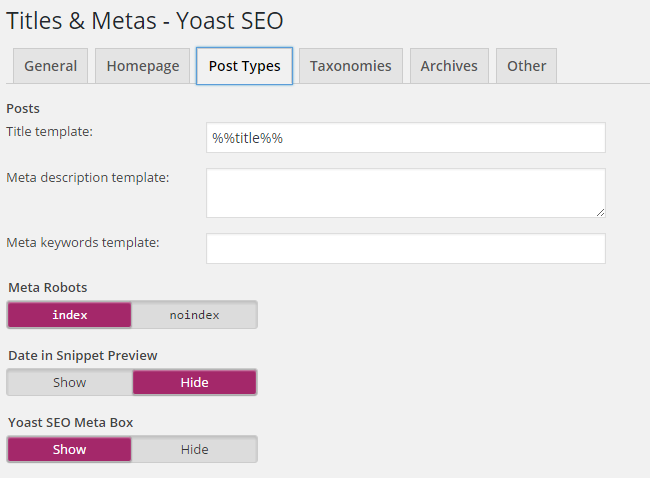
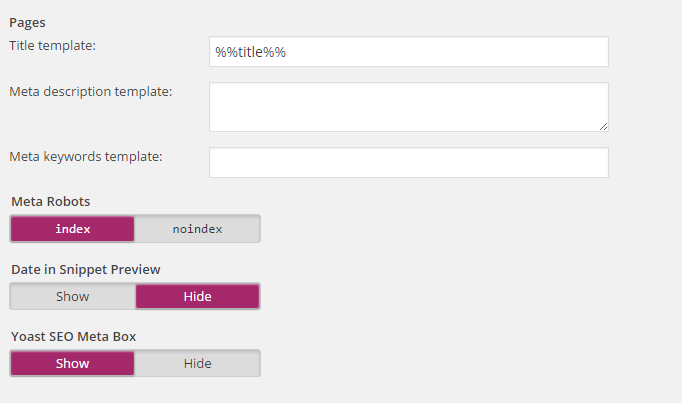
3. Post Types Tab:- USe only "%%title%%" and Remove "Archives %%page%% %%sep%% %%sitename%%" in Title Templates of Post and Pages to avoid Dublicate contents. Meta Robots "Index", Date in Snippet Preview "Hide", Yoast SEO Meta Box "Show".


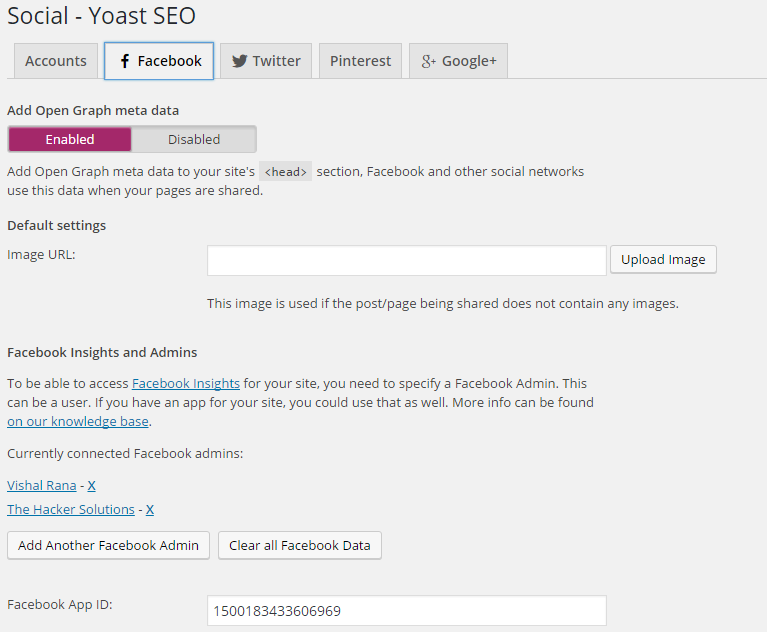
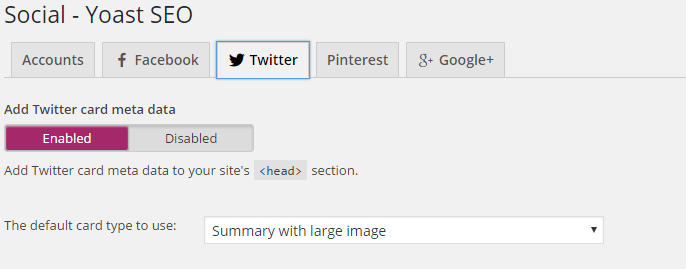
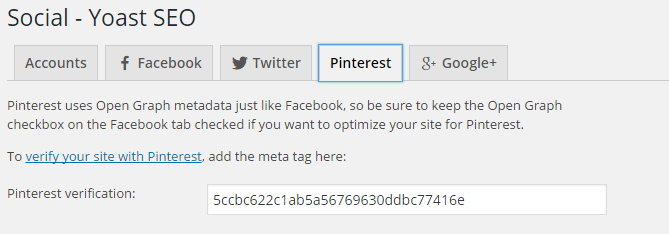
Go to "Social" Section
1. Account Tab:-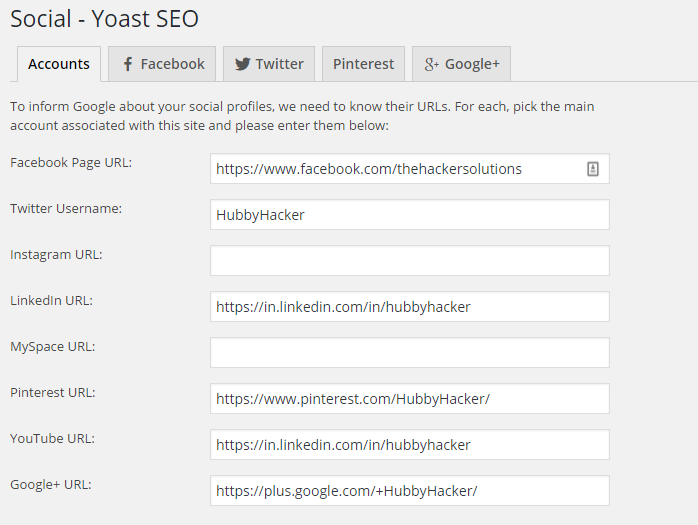

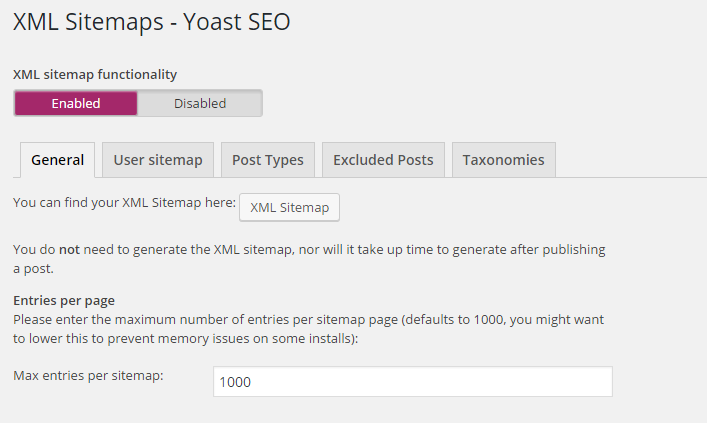
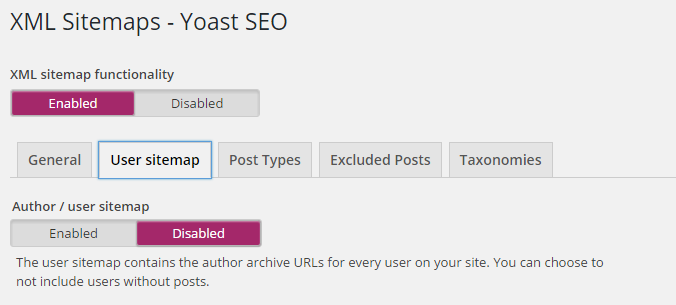
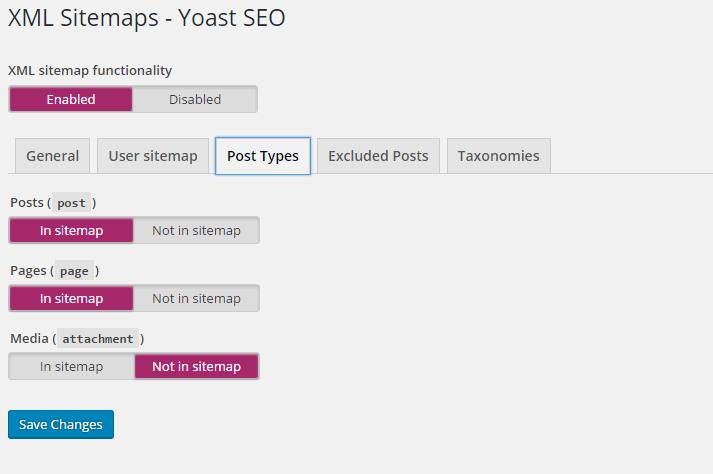
Go to "XML Sitemaps" Section
Enable XML sitemap functionality.1. General Tab :- Max entries per sitemap "1000".
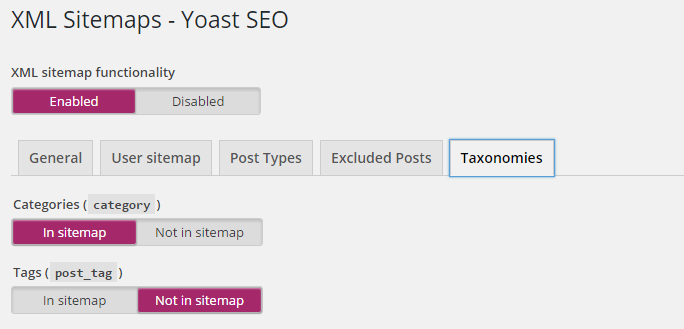
5. Taxonomies Tab:- Use Categories "In Sitemap" and Tags "Not In Sitemap"
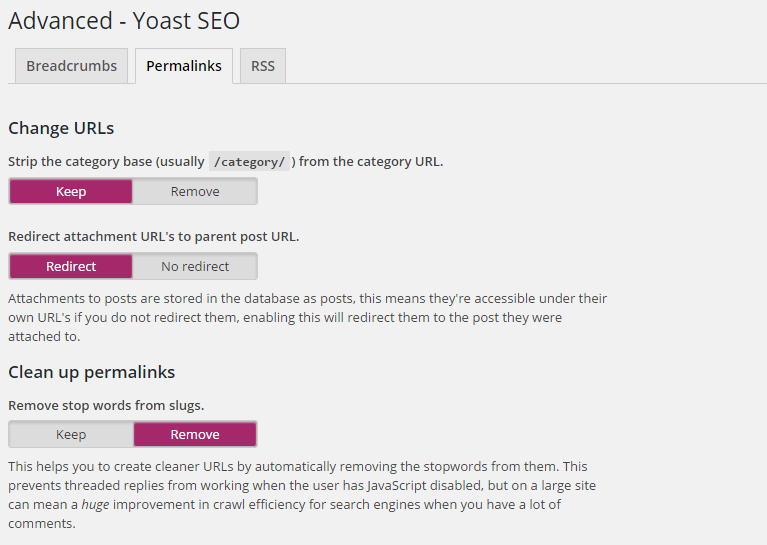
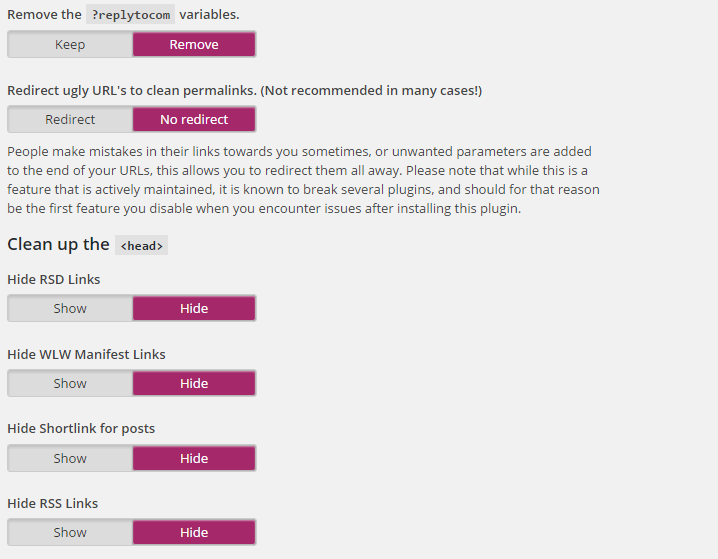
Go to "Advance" Section
1. Breadcrumbs Tab:- You can leave this Section.2. Permalinks Tab:- Check the Setting, Like I have done in the bellow Image.
Go to "Tools" Section
Click on "File editor" and Just leave other tools. This tool allows you to quickly change important files for your SEO, like your robots.txt and, if you have one, your .htaccess file.
In the end
This is one of the best free SEO plugins for your WordPress blog, though I highly recommend that you be sure of your settings before making any changes.An incorrect configuration may bring negative SEO effects to your Blog.


